Sooooo, here we are at “Part Deux” of my little venture into caking and you may be asking yourself why I decided to do this in the first place? (If you’re wondering what at all I’m talking about, check out my first post in this little miniseries right here!). The answer to that is easy: because I’m a little bit crazy and a lot in love with these kinds of things. But of course there’s another part to the answer and that’s BRIDAL SHOWER!
A dear friend of mine is getting married soon and her lovely sisters were planning her a special shower in her honor. I (being the party lover that I am) wanted in on the process and while divvying up everyone’s responsibilities, I offered to take care of ordering the cake.

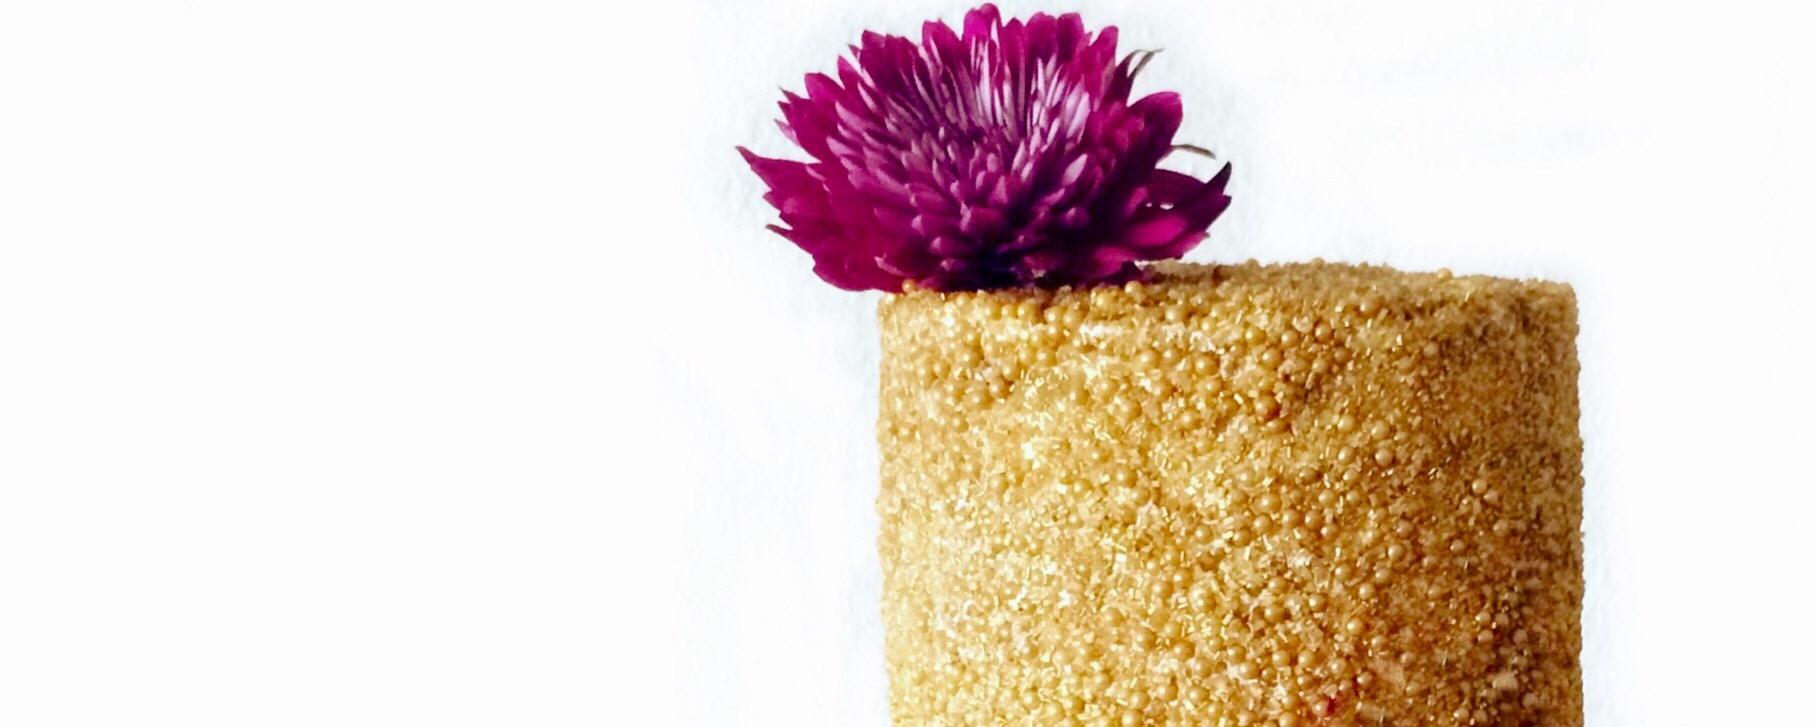
My Inspiration Board
Yes, ordering the cake…. Not making it myself.
I was excited about finding the right vendor, choosing flavors, seeing the final result and whatnot, butttttt when I saw what the girls had in mind, I just couldn’t help myself. There was this little voice in the back of my head that kept taunting me, saying “you can SO make that cake.”
I guess I wanted to see if it was right….
The first thing I needed to do was figure out how I would execute the design. The theme of the bridal shower was “Once Upon A Time” and the color scheme was black and white stripes with gold accents and pink flowers. The idea for the design of the cake was to have a bottom tier covered in white fondant with three black stripes circling it. The top tier was to be covered in sparkly gold sequins and the whole cake embellished with a few pink toned flowers to add a pop of color and complete the look. I wasn’t sure at this point if I would be making the flowers from gum paste or using fresh flowers, but I will have more on that later.
I started googling, pinteresting, and youtubing how to do this and that, as well as what the best fondants and other decor items would be. There was no shortage of inspiration to be found which just got me even more excited.
Because it was a more intimate shower, the cake itself did not need to be too big (which was another reason I thought I could conquer the task). After consulting this cake chart from Wilton, I decided on a 6″ tier for the top and 8″ for the bottom. This would yield about 25-30 servings and because I wanted to do three 1-inch cakes per tier, they would be 25-30 very generous servings.
The overall design seemed simple enough in my mind and I had an idea of how I would execute it. I would bake the cakes, fill and frost them, cover the bottom with white fondant, roll out black fondant strips and attach those, use the buttercream to attach the gold sprinkles, stack the two tiers then adorn with the flowers and voila…
Yeah….Sure….
While it wasn’t necessarily the most trying project, it definitely was not as simple as I had assumed or as easy as all the tutorials from the PROS made it look. Experience is not to be discredited when it comes to this artful process.
After the design was pinned down, I began researching what I needed to make it all happen. Here is the list of materials I came up with specific to my project:
Materials
Aluminum Cake Pans – I felt these really helped the cakes bake more easily
Angled Spatula – I feel this is a must have for frosting cakes, one of those special utensils I recommend getting.
Buttercream (flavor TBD) – Can’t wait to tell you all about this!
Cake (flavors TBD) – Same as above ;).
Cake Boards – I bought a pack of 10-inch cake boards and cut them down to the sizes I needed. If you’re baking and using them more often then myself, I recommend just buying the appropriate sizes.
Cake Box (For Transportation) – I bought a 10-inch cake box and secured the finished cake on a 10-inch cake plate so that it would fit snugly in the box.
Cornstarch – I recommend having it on hand in case you get into a “sticky” situation…pun intended 😉
Dowels – For structural support, you can use skewers, wooden dowels, bubble straws, etc…
Filling (flavor TBD) – Remember what I said about the buttercream and cake flavors :).
Floral Wire – To attach the flowers to the cake and to form gumpaste flowers if you will be making them yourself.
Floral Tape – Mainly if making the gum paste flowers yourself.
Flowers – Gum Paste or Fresh for decorating.
Fondant – Black and white, to cover the bottom tier.
Gold Sequins/Sprinkles – To decorate the top tier.
Paint Brush (fine, medium) – For random things here and there 😉
Parchment Paper – One of your cake baking best friends!
Pastry Mat – This was very helpful for me while coloring the fondant and rolling it out, but its not necessary
Piping Bags – This is not entirely necessary, but helpful for filling the cake. I ended up using parchment paper that I rolled into a cone and used in place of a plastic bag.
Piping Tips – Same as above 🙂
Pizza or Pastry Cutter – A rotary style cutter is very helpful for cutting fondant. Unfortunately, I learned that the hard way…
Plastic Wrap – Mainly to wrap the baked cakes in before filling to keep them fresh and moist.
Powdered Sugar – For fondant rolling and various other tasks.
Rolling Pin – For rolling out the fondant, I used a French rolling pin and with worked out well.
Ruler & Tape Measure – For measuring and to help with straight lines.
Scissors – For cutting things, I guess ;).
Serrated Knife – I used this to level my cakes, no fancy cake leveler required.
Shortening – I stay away from shortening normally, but it really is helpful in keeping the fondant moist, to avoid cracking. Initially I was using coconut oil and while it does work well, I was not a fan of the flavor it was imparting into the fondant.
Turntable – I highly recommend having a lazy-suzan style board or even the turntables you find in the cake decorating section of art stores, it infinitely simplifies the process and having access to all sides of the cake. (I just used a lazy-suzan cheese plate I have and it worked wonderfully.)
Structure
Once I figured out what I needed, I began looking into planning the structure of the cake. From watching so many hours of cake wars and cake challenges on Food Network (lets not talk about how many hours...), I knew there were some architectural components to building a cake and even though mine would only be two tiers, the cake was going to be assembled hours in advance, and transported in a car (with me at the wheel :/) so I needed to make sure the whole thing wouldn’t sink in on itself.
The first step to building the cake is making sure that the layers are flat and even. This is usually done by leveling the cake once it has cooled either with a cake leveler or simply with a ruler and a serrated knife. This video from Cake Style is a great example of how easy it is to level a cake without any special equipment and the way I ended of leveling my cakes. For the casual baker who won’t really be using a leveling tool on a regular basis, the serrated knife method works great.
The second aspect of the structure is building the cake using cake boards that are the size of the cake you are making. The cake boards do two things:
1. Make it so much easier to move and work with the cake whenever needed.
2. They support the tier once it is stacked and keep the cake from collapsing.
In the Cake Style video, they mention using a thin layer of buttercream as glue between the cake board and the first cake layer. It’s a simple step that ends up saving you a lot of frustration and will also keep the board from flavoring the cake.
The third part that is essential to the structure is inserting dowels into any tier that will be supporting a tier above it. Anything from wooden dowels, to skewers, to metal tubes to bubble straws can be used for this, although certain things may work better for larger cakes. I used wooden dowels from the craft section and they worked perfectly. This is a great example of something you don’t need to buy from the cake decorating section. This second video from Cake Style (which is part two of their Wedding Cake Foundations series) is a great example of how to dowel, stack and secure a cake.
Oof! That’s a lot of text up there ??????! If you read all of that, I hope you found it helpful. The next few posts won’t be as dense and will have some yummy recipes for you so I hope you stay tuned!!
Up next: The Cake


Sana
I just had to comment. I’m lucky enough to be the friend Susu made the cake for <3 and I can tell you all it was the best thing ever. As one of the other guests from the bridal shower just recently told me "I'm pretty sure I'm still dreaming about that cake". It was THAT good
Susu
??? It was a pleasure Sana, and I’m so happy you loved it!